Heard about lash lifts? They’re like magic for your lashes, making them longer, thicker, and curlier. Unlike other methods, lash lifts have been tested at a top university in Italy. They not only boost curl between practices but also enhance thickness by 24% after just 3 treatments! Wondering how it’s done? Check out our easy-to-follow guide for flawless lash lifts every time!
Step 1: Prepare
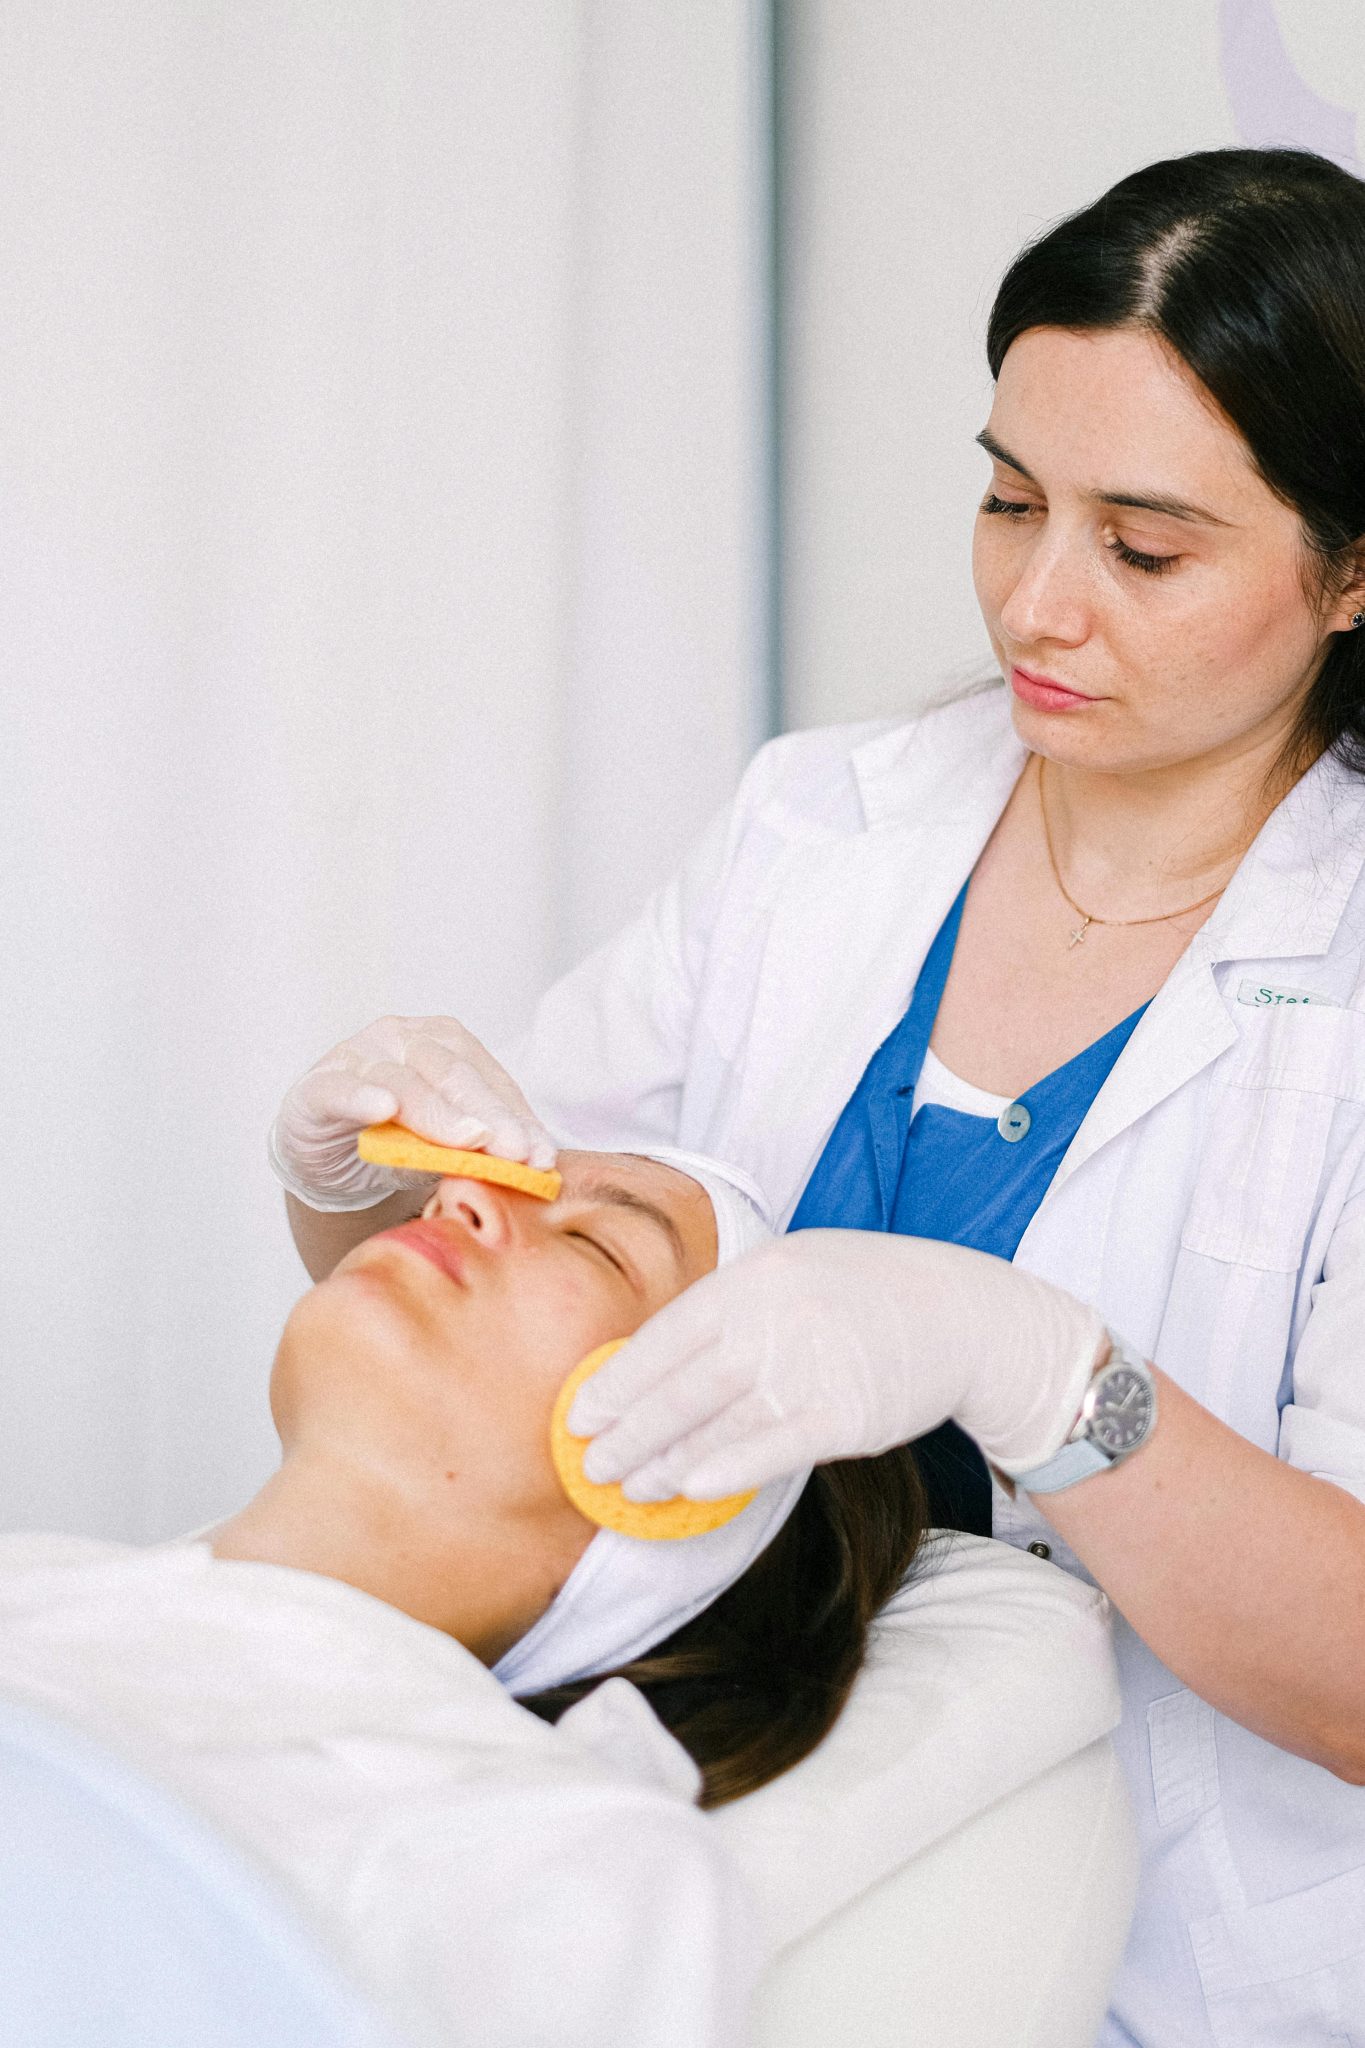
Before you begin your lash treatment, make sure to clean your skin and lashes really well. This helps the products work better and prevents them from getting stuck on any makeup or oil left behind. Just use some lash soap and gently scrub it onto your skin and lashes. Then, wash with cool water and pat dry.
Step 2:Apply Eyepatches And Shields
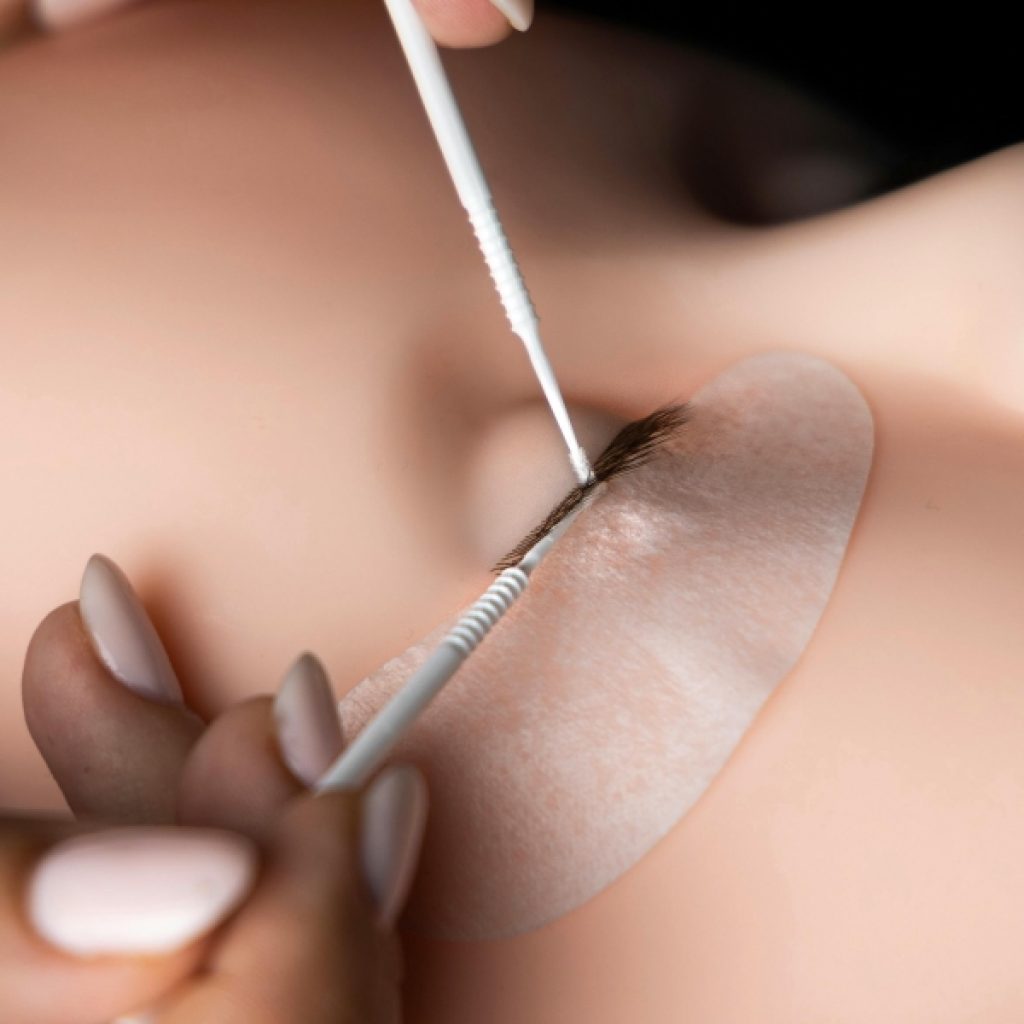
Don’t forget to use eye patches to protect lower lashes in case you miss the previous step with your products! If tinting lower lashes, move the patches later and tint against them.
Choosing the right size might seem tough if you’re new, but aim for ones where natural lashes cover at least 2/3 for a proper lift. Too small will be out of shape, too big means no effect.
Secure the shields with Fixing Gel on the eyelid before lifting the lashes onto them.
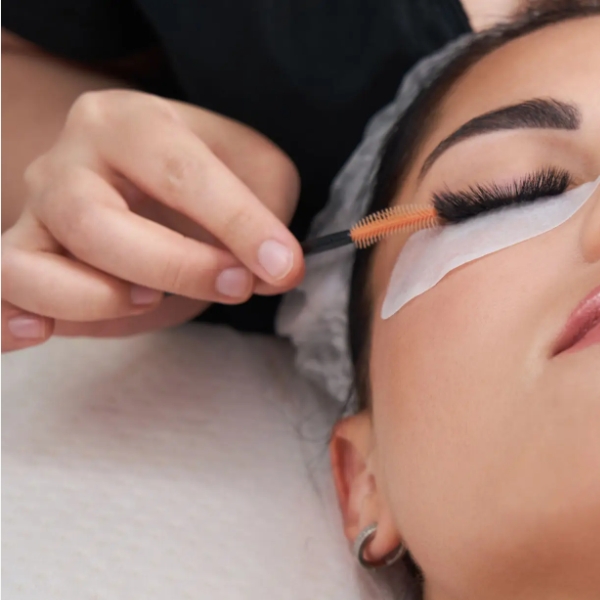
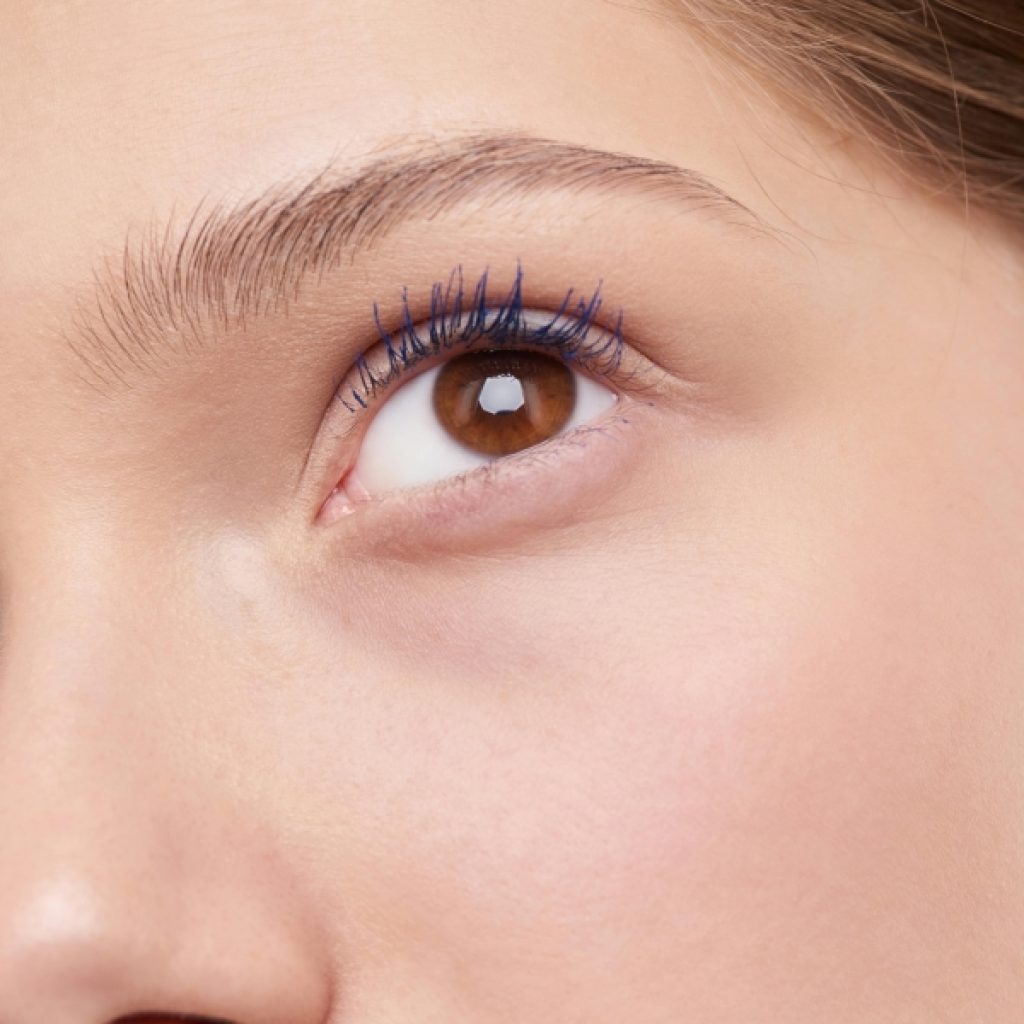
Step 3:Lifting Lashes
To make the lash lift process smoother, work in small sections to prevent the Fixing Gel from drying out too quickly. Apply a bit of Fixing Gel on a small portion of the shield, then use the Filtering Tool to lift the lashes onto it, pulling them straight upward. For stubborn lashes, use a Gollee Lash Lift Kit to comb through and separate them. If your natural lashes are thick, consider applying them in layers to ensure each one is properly lifted. Use a small amount of Fixing Gel to avoid interference with the Lifting products’ effectiveness.
Step 4:Applying Form 1
Get ready to transform your lashes with Form 1! This magic potion has a special pH that works wonders by opening up your lash hairs and diving deep into their inner layers. Getting your lashes ready for a wonderful lift.
Get a little bit of Form 1 using a mixing stick and put it into a non-metal container. Use a thin brush to put a nice, even line of Form 1 on the middle part of your lashes. Don’t put it too close to the roots or tips.
How long you keep Form 1 on your lashes depends on how thick your lashes are:
Thin lashes: 6-8 minutes
Medium lashes: 8-10 minutes
Thick lashes: 10-12 minutes
Make sure to time each eye accurately and separately to lift them properly and avoid overuse. Use a dry cotton stick or lip applicator wand to remove Form 1.
Step 5: Applying Fix 2
This solution works when the hair cuticles are open, allowing it to reform the bonds. Take a little Fix 2 and put it in a clean non-metal container. Apply it to the middle of the lashes, where Form 1 was applied, using a clean mixing stick.
Fix 2 has a slightly acidic pH, which helps to close the hair cuticle. The timing for Fix 2 depends on hair thickness:
Thin Hairs: 4-5 Minutes
Medium Hairs: 5-6 Minutes
Thick Hairs: 6-7 Minutes
Ensure accurate timing for each eye and remove the product at the end of the fixed time with a dry cotton stick or lip applicator wand.
STEP 6: Coloring
Adding color to the lashes is an extra step in the lash lift process. Not everyone needs it, so ask your client if they want it before starting. Lighter-haired clients might need more frequent modify compared to those with darker lashes.
To color the lashes, mix a small amount of tint with a developer. Apply the mixture to the lashes evenly. The longer you leave it on, the richer the color. Don’t out of the maximum time recommended, just like with the previous steps.
After the required time, remove the tint carefully to ensure it doesn’t stick along the lash line. Then, proceed to the next step.
STEP 7: Filler 3
Apply a few drops of Nourishing Serum into a clean plastic dish or container. Gently apply the serum to your lashes. This serum works to separate the lashes from the Setting Gel, while also providing essential nutrients to keep them healthy.
Leave the Nourishing Serum on your lashes for a few minutes to ensure optimal nourishment. After the treatment, use a brush to gently remove any leftover serum from your lashes, leaving them looking and feeling their best.
STEP 8: Finishing Up
Wet a lip applicator with water and slide it gently along the eyelid, behind the shield. Then carefully remove the shields from the eyelids. It’s a good idea to keep a micro brush nearby in case some lashes are still stuck to the shield.
Use two lip applicators to sandwich the lashes and remove any over Filler 3 and leftover Fixing Gel. Then, grab two F-Brushes and repeat the process to help dry the lashes before capturing some photos for your social media!
To maintain those lovely lifted lashes, it’s important to do a Gollee Lash Lift every 6 weeks. Remind clients not to sleep on their faces, keep their lashes dry, and skip mascara for 24 hours post-treatment for the best results. Also, advise them to gently clean off any makeup with a soft foam cleanser.