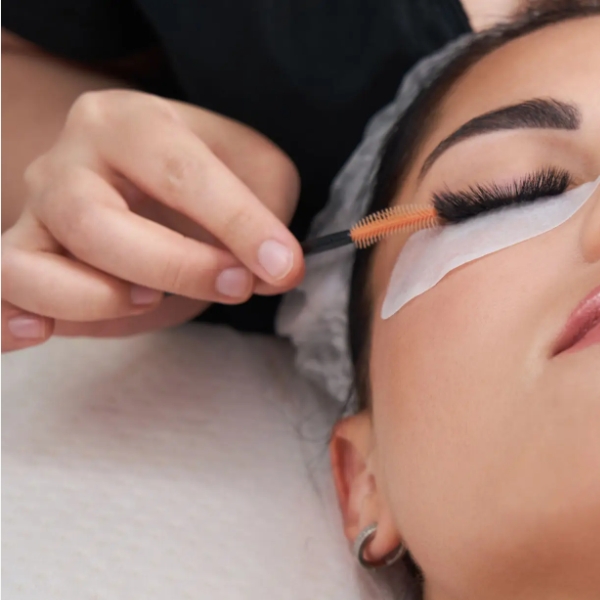
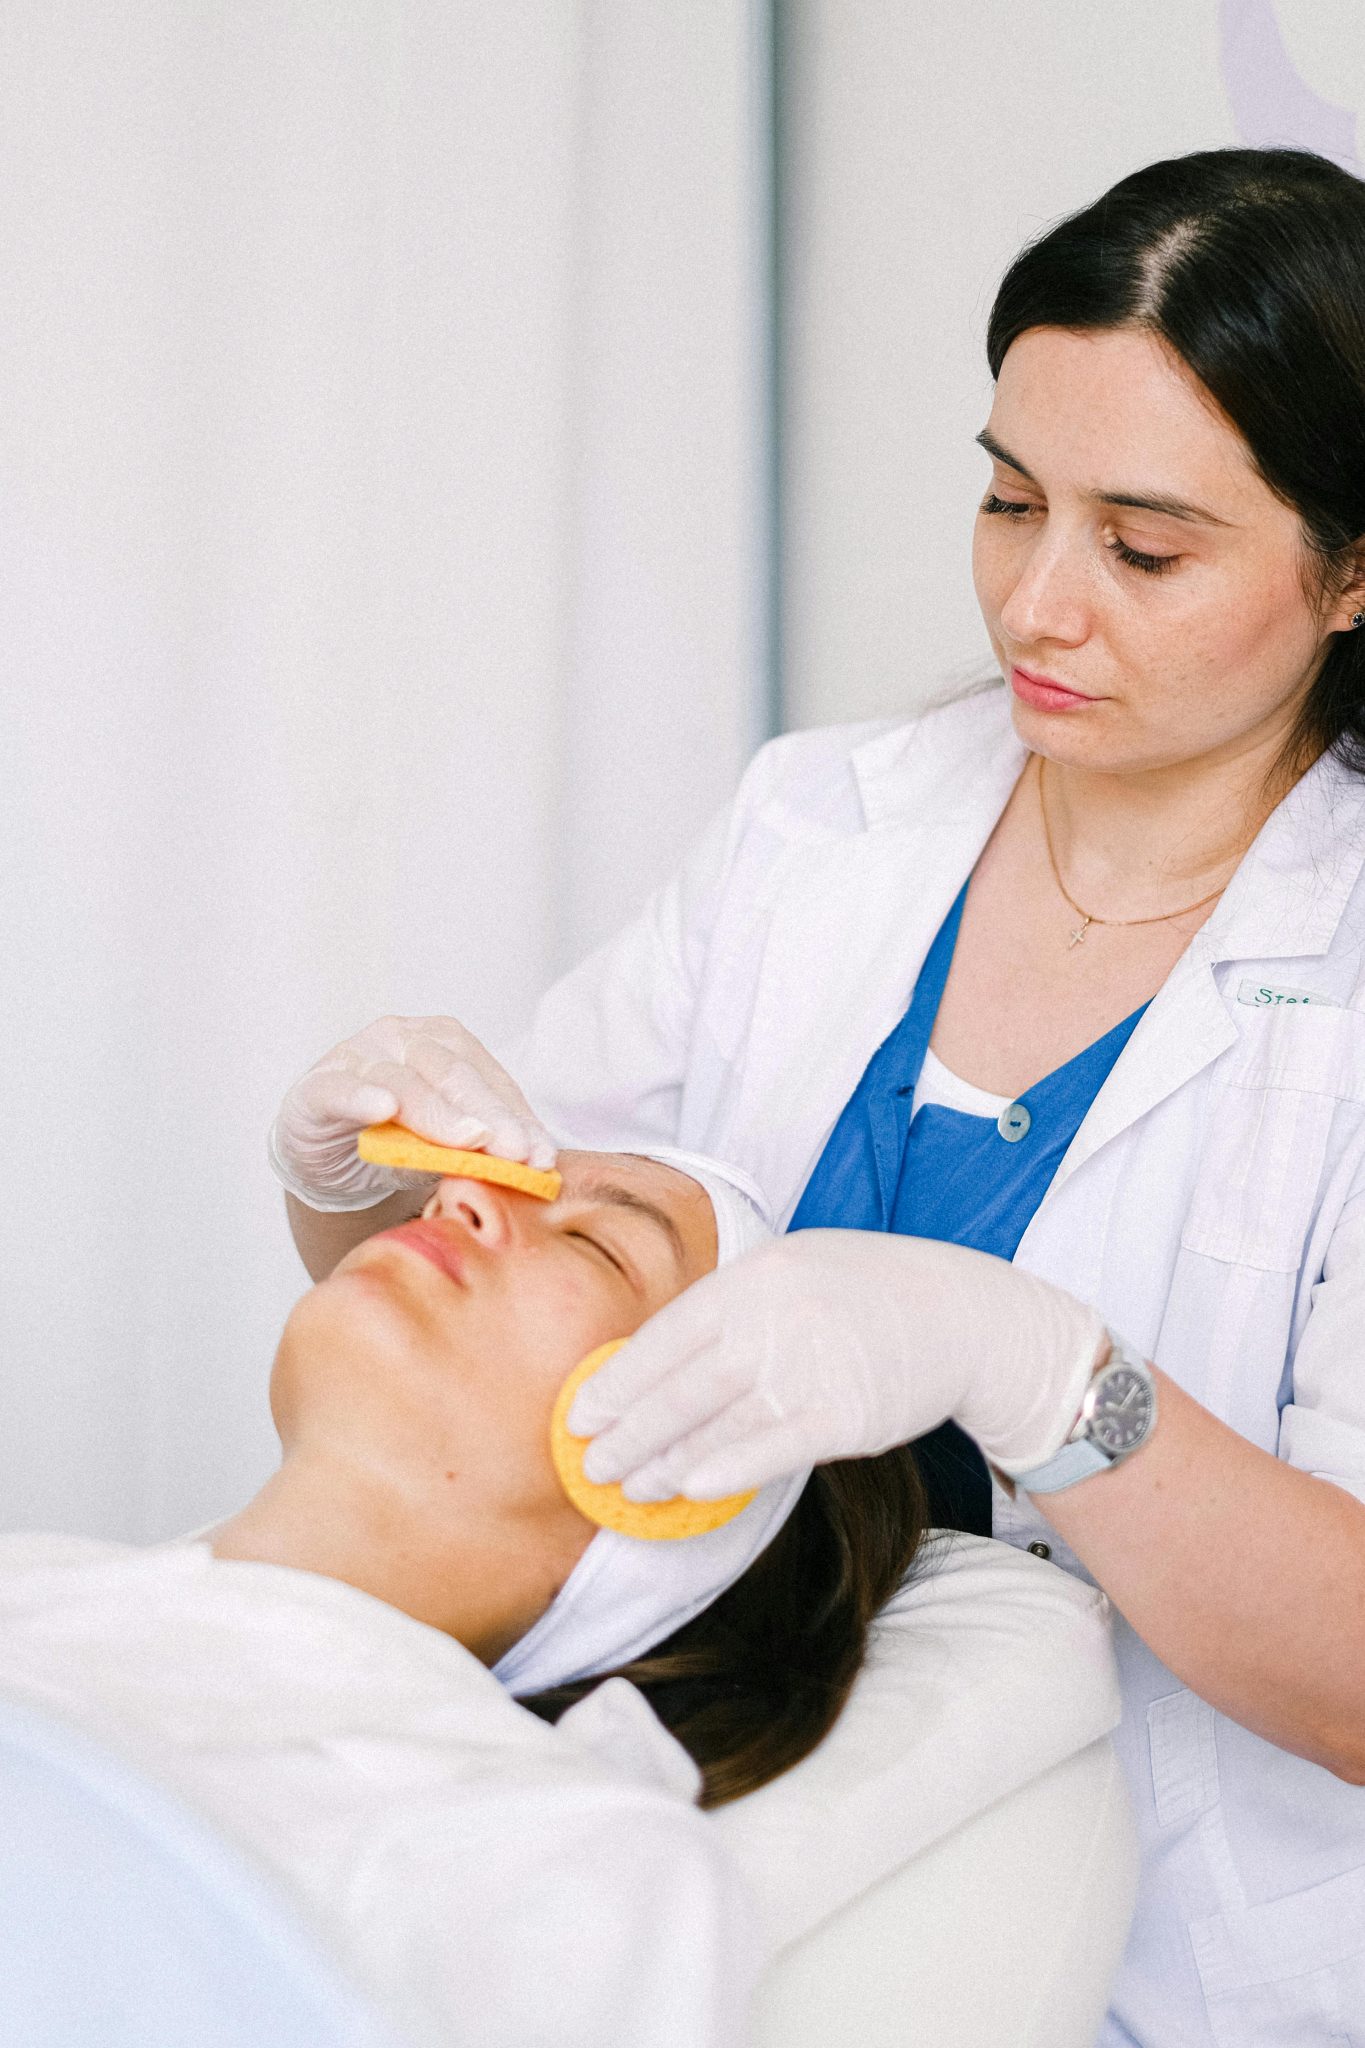
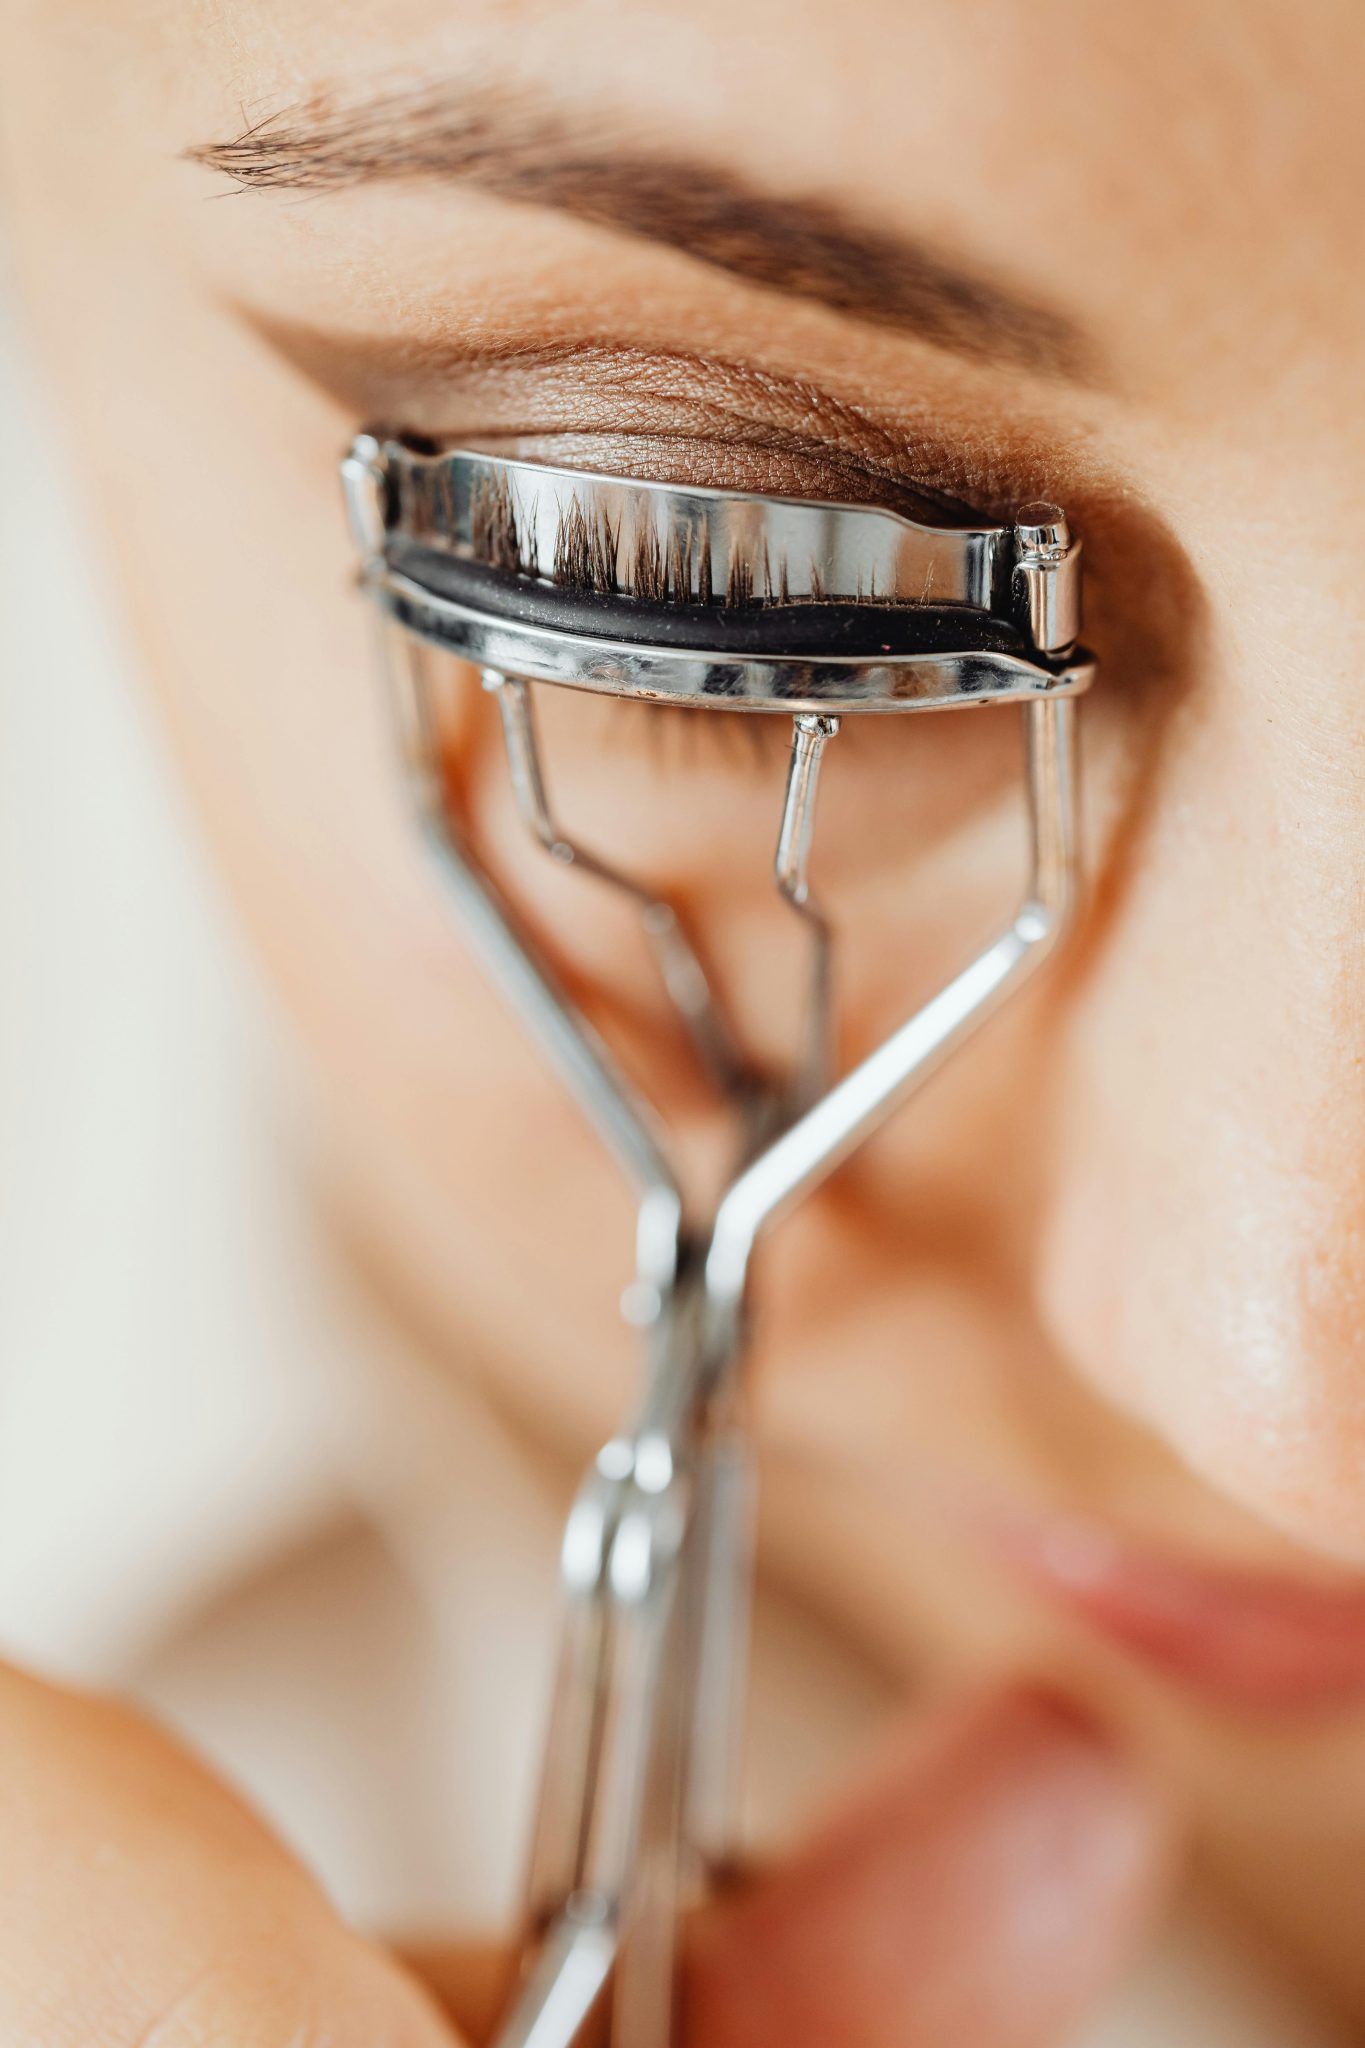
Lash mapping is akin to an artist’s canvas, setting the stage for creating captivating lash designs that accentuate your client’s eyes. Just like any art form, understanding the dos and don’ts is crucial for achieving impeccable results.
The Dos of Lash Mapping
Thorough Consultation
Initiate with a comprehensive consultation to understand your client’s preferences, routines, and sensitivities, guiding your mapping decisions.
Assess Natural Lashes
Carefully examine your client’s natural lashes, noting their length, curl, and thickness to determine suitable extensions.
Customize for Eye Shape
Tailor your lash mapping to complement the client’s unique eye shape, enhancing their natural features.
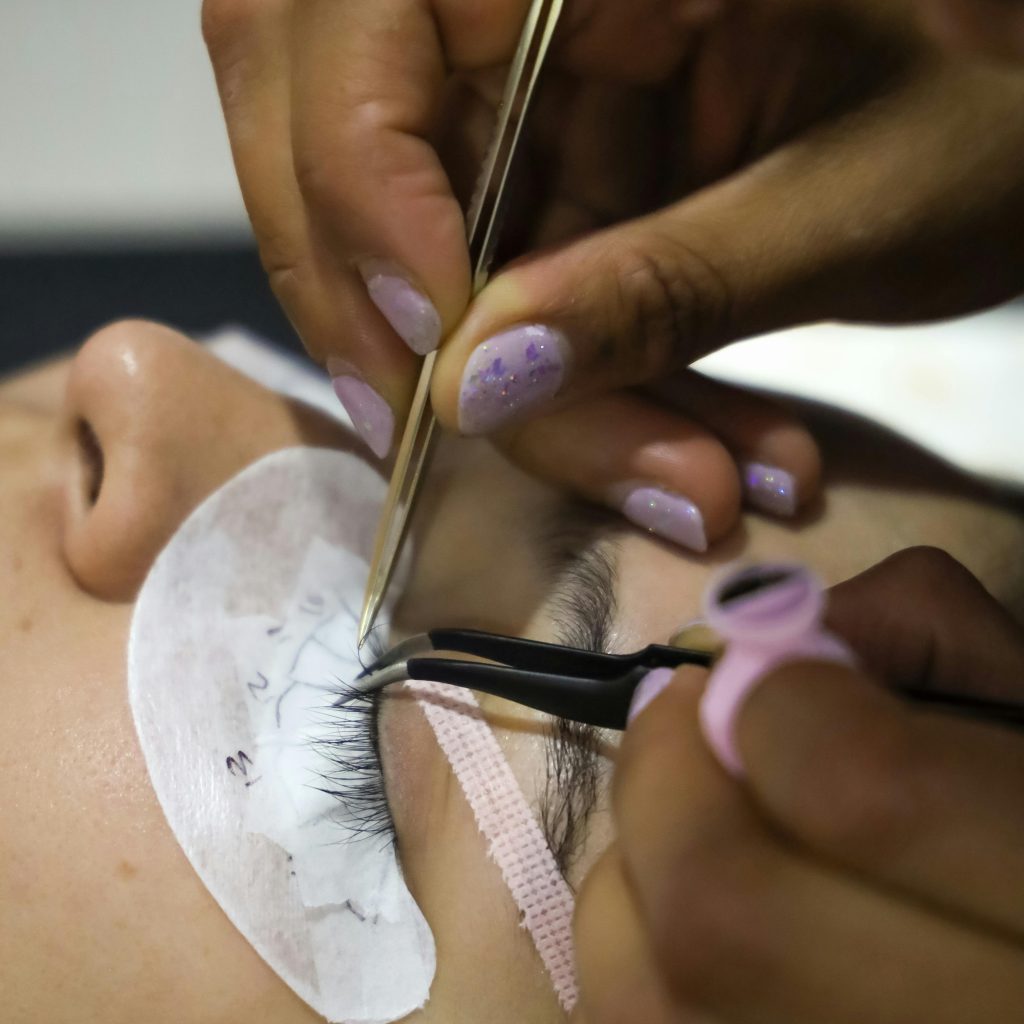
Maintain Lash Health
Ensure lash extensions are not excessively heavy, preventing damage. Employ proper isolation techniques to prevent clumping or twisting.
Educate Your Client
Educate clients on lash aftercare to prolong the lifespan of extensions and maintain their appearance.
The Don’ts of Lash Mapping
Avoid One-Size-Fits-All Approach
Customize mapping for each client to suit individual features and preferences, avoiding a generic approach.
Avoid Rushing
Take time for precise mapping, ensuring symmetry and satisfaction. Rushing can lead to uneven lashes and dissatisfaction.
Never Skip Patch Test
Always conduct an allergy test to prevent adverse reactions before full application.
Prevent Overloading
Avoid applying extensions that are too heavy or long, as this can lead to premature shedding and damage.
Ensure Proper Isolation
Neglecting proper isolation may result in clumps, discomfort, and potential lash damage. Isolate each natural lash meticulously.
Conclusion
Mastering lash mapping requires attention to detail and adherence to best practices. By following these dos and avoiding the don’ts, you can create stunning lash looks while prioritizing the health and satisfaction of your clients.
Remember, practice and ongoing education are key to becoming a proficient lash artist.


